DIY Ideas and Inspiration for 2024
Installing kitchen floor tiles as a DIY project can be a rewarding and cost-effective way to update your kitchen. Not only does it save you money on installation costs, but it also allows you to have complete control over the design and style of your kitchen floor. Whether you are a seasoned DIYer or a beginner, installing kitchen floor tiles is a project that can be tackled with confidence and satisfaction.
One of the main benefits of installing kitchen floor tiles as a DIY project is the cost savings. Hiring a professional to install your kitchen floor tiles can be expensive, especially if you have a large area to cover. By doing it yourself, you can save a significant amount of money that can be put towards other aspects of your kitchen renovation. Additionally, completing the project yourself gives you a sense of personal satisfaction and accomplishment. There is something fulfilling about seeing the finished product and knowing that you did it all on your own.
Choosing the Right Kitchen Floor Tiles
When choosing kitchen floor tiles, there are several materials and styles to consider. Each material has its own pros and cons, so it’s important to choose one that suits your needs and preferences.
Ceramic tiles
Ceramic tiles are a popular choice for kitchen floors due to their durability and affordability. They come in a wide range of styles, colours, and patterns, making it easy to find one that matches your kitchen design. However, ceramic tiles can be prone to cracking if not properly installed or if heavy objects are dropped on them.
Porcelain tiles
Porcelain tiles are another popular option for kitchen floors. They are extremely durable and resistant to stains, making them ideal for high-traffic areas like the kitchen. Porcelain tiles also come in a variety of styles and designs, allowing you to create a unique look for your kitchen. However, they can be more expensive than ceramic tiles.
Natural stone tiles
Natural stone tiles, such as marble or granite, are a luxurious and timeless choice for kitchen floors. They add a touch of elegance and sophistication to any kitchen design. However, natural stone tiles can be more expensive and require regular maintenance to keep them looking their best.
DIY Kitchen Floor Tile Installation
Installing kitchen floor tiles may seem like a daunting task, but with the right tools and a step-by-step guide, it can be easily accomplished by first-time DIYers.
1. Prepare the surface: Before installing the tiles, make sure the surface is clean, dry, and level. Remove any existing flooring and repair any cracks or uneven areas.
2. Measure and plan: Measure the area where you will be installing the tiles and calculate how many tiles you will need. It’s also important to plan the layout of the tiles to ensure a balanced and visually appealing design.
3. Mix the mortar: Follow the instructions on the mortar packaging to mix it to the right consistency. Use a trowel to spread a thin layer of mortar on the surface, starting from the centre and working your way outwards.
4. Lay the tiles: Place the tiles on top of the mortar, pressing them firmly into place. Use tile spacers to ensure even spacing between each tile. Continue laying tiles until the entire area is covered.
5. Cut tiles if necessary: Use a tile cutter or wet saw to cut tiles to fit around edges or obstacles. Make sure to wear safety goggles and gloves when cutting tiles.
6. Grout the tiles: Once all the tiles are in place, allow the mortar to dry completely before grouting. Mix the grout according to the instructions on the packaging and use a grout float to spread it over the tiles, making sure to fill in all the gaps.
7. Clean and seal: After the grout has dried, use a damp sponge to clean off any excess grout from the tiles. Once the tiles are clean and dry, apply a tile sealer to protect them from stains and moisture.
Creative Tile Patterns
One of the advantages of installing kitchen floor tiles is the ability to create unique and creative patterns. By using different shapes, sizes, and colours of tiles, you can transform your kitchen floor into a work of art.
One popular tile pattern is the herringbone pattern, which involves laying rectangular tiles at a 45-degree angle to create a zigzag effect. This pattern adds visual interest and can make a small kitchen appear larger.
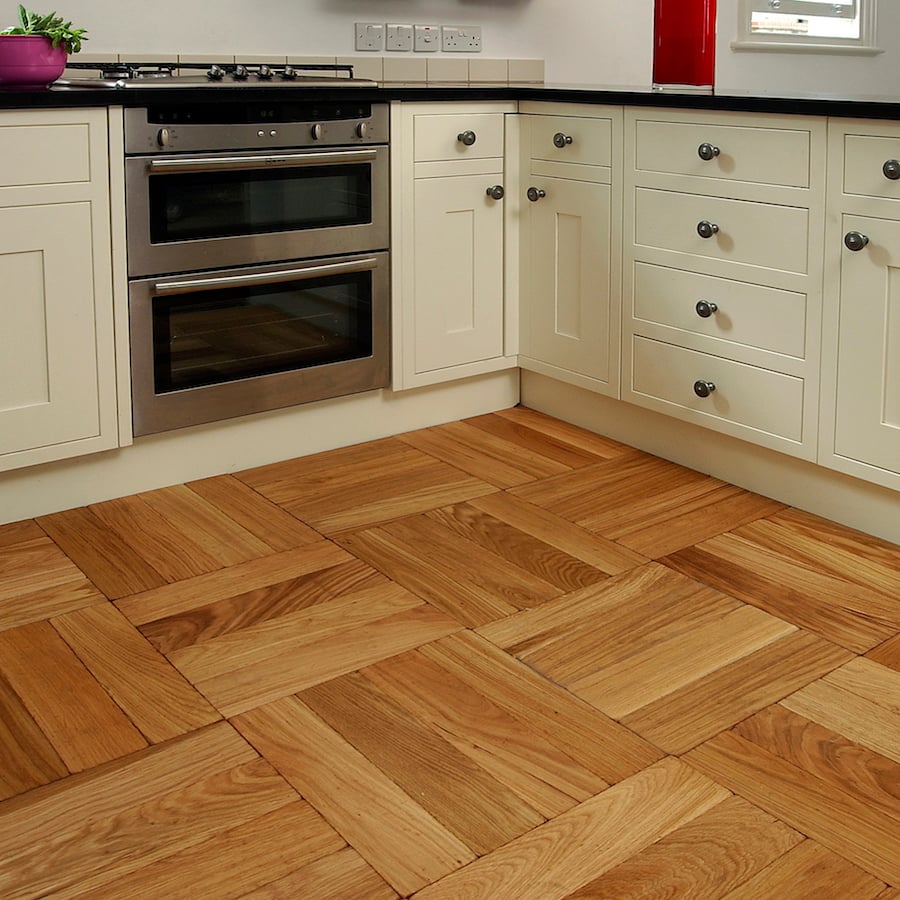
Another creative tile pattern is the basketweave pattern, which involves alternating rectangular tiles with square tiles to create a woven effect. This pattern adds texture and depth to the kitchen floor and can be used to create a traditional or contemporary look.
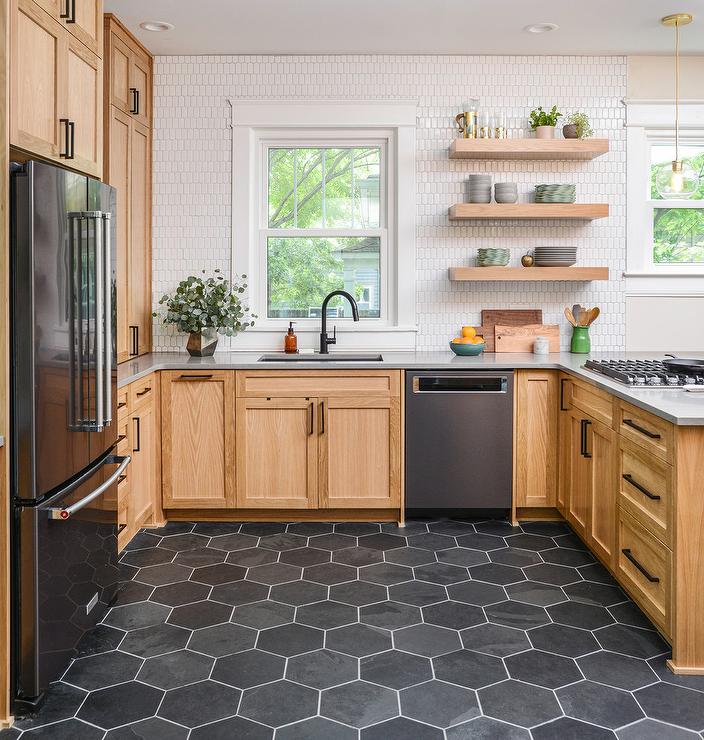
For a more modern and geometric look, consider using hexagonal tiles in a honeycomb pattern. This pattern creates a visually striking design that can be used as a focal point in the kitchen.
When planning your tile pattern, it’s important to take accurate measurements and plan the layout before starting the installation process. This will ensure that the pattern is balanced and visually appealing.
How to Make a Bold Statement with your Kitchen Floor Tiles
If you want to make a bold statement in your kitchen, consider using unique and eye-catching tiles for your floor. Statement tiles can add personality and character to your space, making it truly one-of-a-kind.
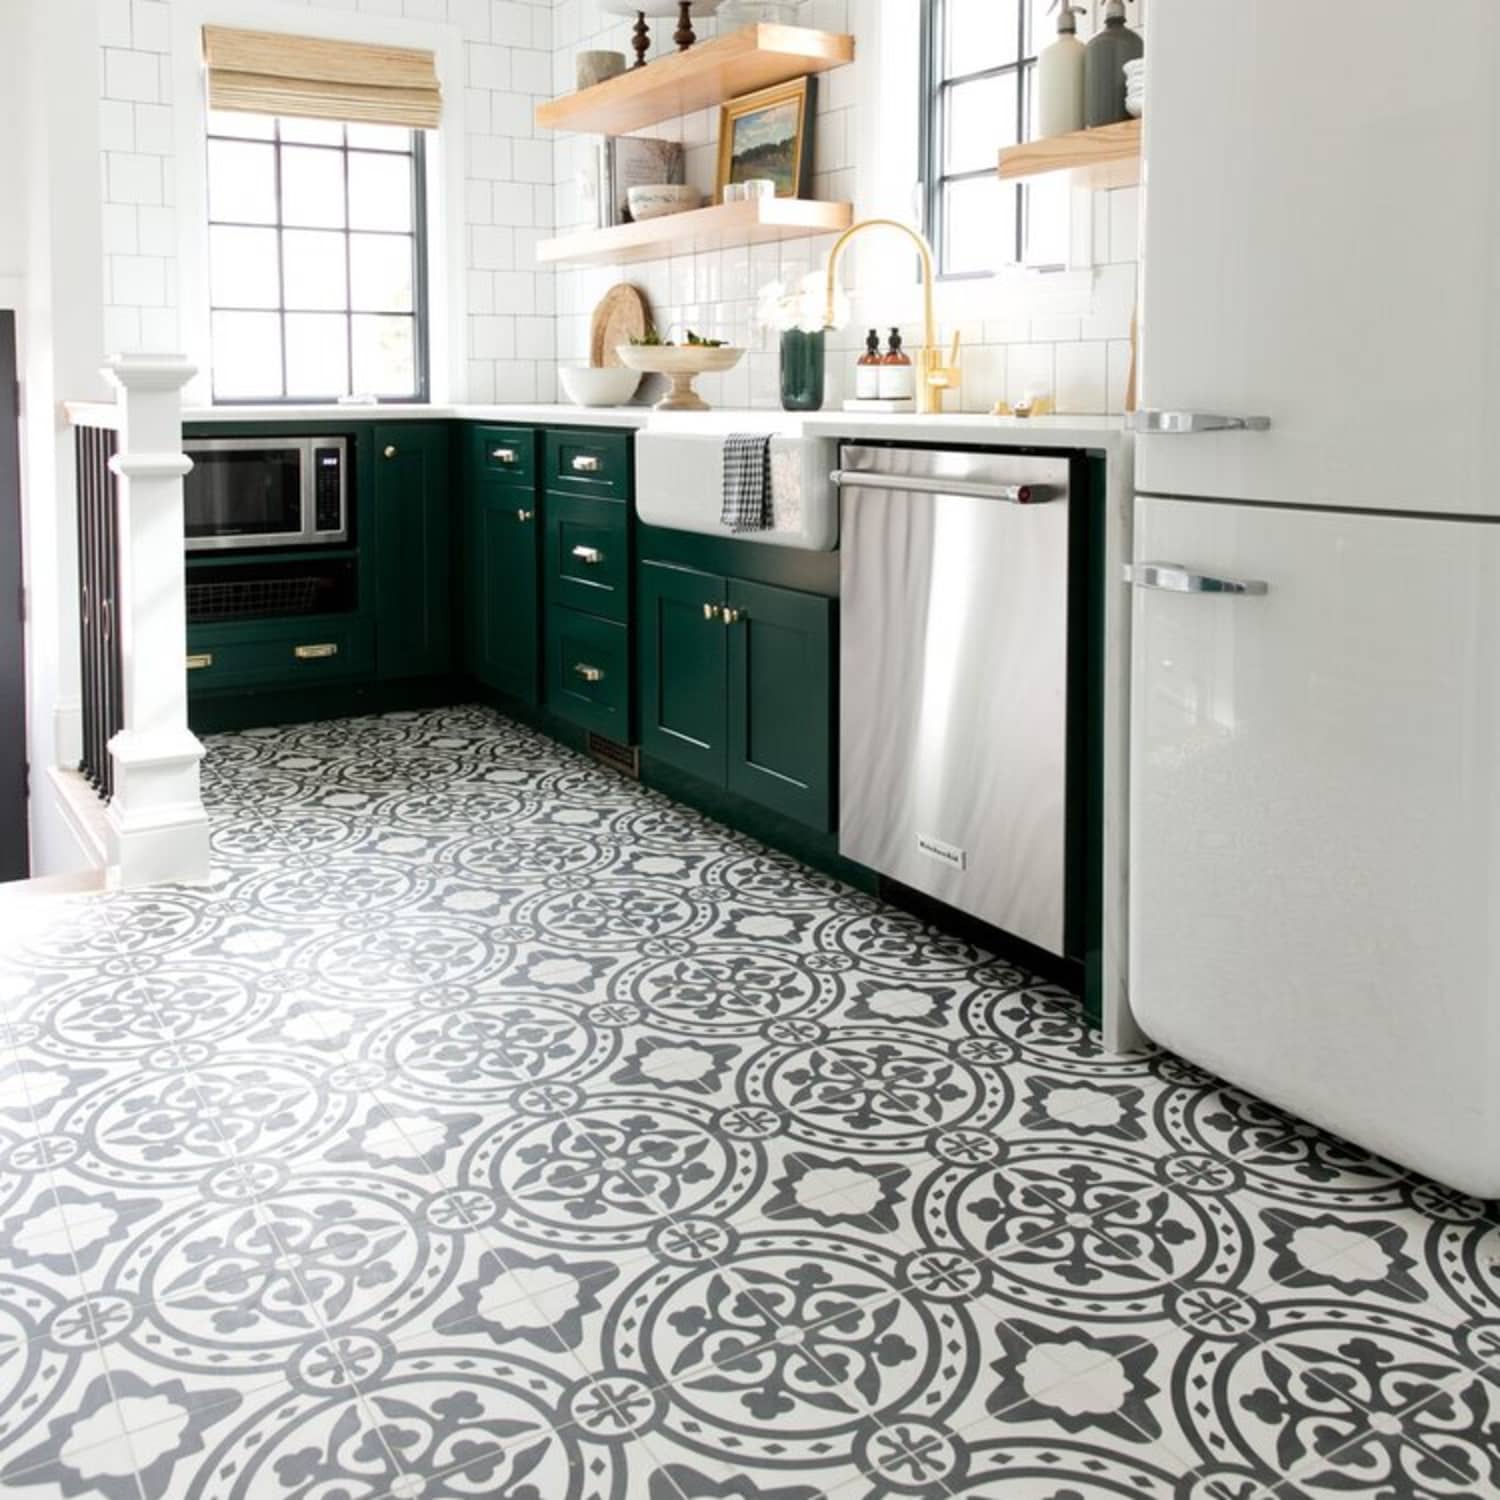
One way to make a bold statement is by using patterned tiles with vibrant colours or intricate designs. Moroccan-inspired tiles, for example, are known for their bold patterns and vibrant colours. They can add a touch of exoticism and warmth to your kitchen.
Another way to make a statement is by using large-format tiles with unique textures or finishes. For example, metallic or mirrored tiles can create a glamorous and modern look, while textured tiles can add depth and interest to your kitchen floor.
If you prefer a more subtle statement, consider using tiles with a unique shape or layout. For example, hexagonal tiles arranged in a random pattern can create a visually striking effect that is both modern and timeless.
When using statement tiles, it’s important to balance them with the rest of your kitchen design. Consider using neutral colours and simple patterns for the rest of your kitchen elements to allow the statement tiles to take centre stage.
Mosaic Magic: Using Small Tiles to Create Intricate Designs
Mosaic kitchen floor tiles are a versatile and creative option for kitchen floors. They allow you to create intricate designs and patterns using small tiles in different colours and shapes.
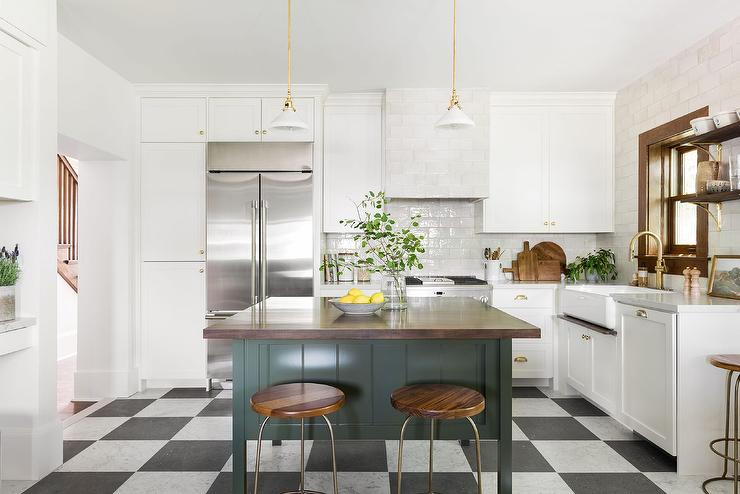
One popular mosaic design is the classic checkerboard pattern, which involves alternating black and white tiles to create a timeless and elegant look. This pattern works well in both traditional and modern kitchens.
Another popular mosaic design is the medallion pattern, which involves creating a focal point in the centre of the kitchen floor using different coloured tiles. This pattern adds visual interest and can be used to create a unique and personalized design.
For a more contemporary look, consider using mosaic tiles in a gradient or ombre pattern. This involves using tiles in different shades of the same colour to create a subtle and sophisticated effect.
When creating mosaic designs, it’s important to plan the layout carefully and use tile adhesive specifically designed for mosaic tiles. This will ensure that the tiles adhere properly and create a durable and long-lasting design.
Geometric Shapes: How to Incorporate Triangles, Hexagons
Geometric shapes are a popular trend in interior design, and they can be easily incorporated into your kitchen floor tile design. Triangles, hexagons, and other geometric shapes can add visual interest and create a modern and contemporary look.
One way to incorporate geometric shapes is by using tiles in different shapes and sizes to create a mosaic-like effect. For example, you can use hexagonal tiles in different colours to create a honeycomb pattern, or triangular tiles in different shades of the same colour to create a gradient effect.
Another way to incorporate geometric shapes is by using tiles with geometric patterns or textures. For example, tiles with a 3D geometric pattern can add depth and interest to your kitchen floor, while tiles with a geometric texture can create a tactile and visually striking effect.
When using geometric shapes, it’s important to consider the size and layout of your kitchen. Large geometric patterns can make a small kitchen appear even smaller, so it’s important to choose a design that suits the size and layout of your space.
Colourful Kitchen Floors
If you want to add a pop of colour to your kitchen, consider using colourful kitchen floor tiles for your floor. Colourful kitchen floors can create a vibrant and cheerful atmosphere, making your space feel more inviting and lively.
One way to add colour is by using tiles in different shades of the same colour. For example, you can use blue tiles in different shades to create a calming and serene atmosphere, or red tiles in different shades to create a bold and energetic look.
Another way to add colour is by using tiles in contrasting colours. For example, you can use yellow tiles with blue accents to create a cheerful and playful look, or green tiles with pink accents to create a fresh and vibrant atmosphere.
When using colourful tiles, it’s important to balance them with the rest of your kitchen design. Consider using neutral colours for the walls and cabinets to allow the colourful kitchen floor tiles to take centre stage.
Kitchen floor Tile Art
Kitchen floor tiles can be used as a canvas for creativity and self-expression. By using different colours, patterns, and textures, you can create a unique and personalized design that reflects your personality and style.
One way to create tile art is by using stencils or decals to add patterns or designs to your tiles. For example, you can use a stencil to create a floral pattern or a geometric design on your kitchen floor. This allows you to add a personal touch to your space without the need for professional painting or installation.
Another way to create tile art is by using hand-painted tiles. Hand-painted tiles are a unique and artistic option for kitchen floors. They can be customized to match your kitchen design and can feature anything from abstract patterns to intricate landscapes.
When creating tile art, it’s important to use high-quality materials and sealants to ensure that the design lasts for years to come. It’s also important to plan the layout and design carefully before starting the installation process to ensure a balanced and visually appealing result.
Maintenance and Care for your kitchen floor tiles
Proper maintenance and care are essential for keeping your kitchen floor tiles looking great for years to come. By following a few simple tips and tricks, you can ensure that your tiles stay clean, shiny, and in good condition.
One of the most important aspects of tile maintenance is regular cleaning. Sweep or vacuum your kitchen floor regularly to remove dirt and debris that can scratch the tiles. Use a damp mop or cloth to clean the tiles with a mild detergent or tile cleaner. Avoid using abrasive cleaners or scrub brushes, as they can damage the tiles.
In addition to regular cleaning, it’s important to protect your tiles from stains and spills. Wipe up any spills immediately to prevent them from seeping into the grout or staining the tiles. Use coasters or placemats under hot dishes or glasses to prevent heat damage.
Another important aspect of tile maintenance is grout care. Grout can become discoloured or stained over time, so it’s important to clean and seal it regularly. Use a grout cleaner and a stiff brush to scrub the grout, then apply a grout sealer to protect it from stains and moisture.
It’s also important to avoid common mistakes in tile maintenance and care. For example, avoid using harsh chemicals or abrasive cleaners on your tiles, as they can damage the surface. Avoid dragging heavy furniture or appliances across the tiles, as this can cause scratches or cracks.
By following these tips and tricks, you can keep your kitchen floor tiles looking great for years to come and enjoy the beauty and durability of your DIY project.


